H@cktivitycon Writeup: OTP Smasher

Intro
I have devoted the past 48 hours to the H@cktivitycon CTF, run by John Hammond, congon4tor, M_alpha, fumenoid, NightWolf, Blacknote, and CalebStewart, and boy howdy was it a great experience.
This post, specifically, is dedicated to the scripting challenge, OTP Smasher. I’ll begin by finding the main page, where the task seems to be reading numbers from an image, and soon realizing I’ll need to be fast if I want to enter those numbers. After doing some initial research, I’ll make use of the OpenCV and pytesseract libraries to directly read the image from the website, and use some filtering techniques to improve the consistency, and grab the flag.
Description
Your fingers too slow to smash, tbh.
Initial Recon
This scripting challenge involves a web page, so it’s important that we get a good understanding what we’re trying to do first.
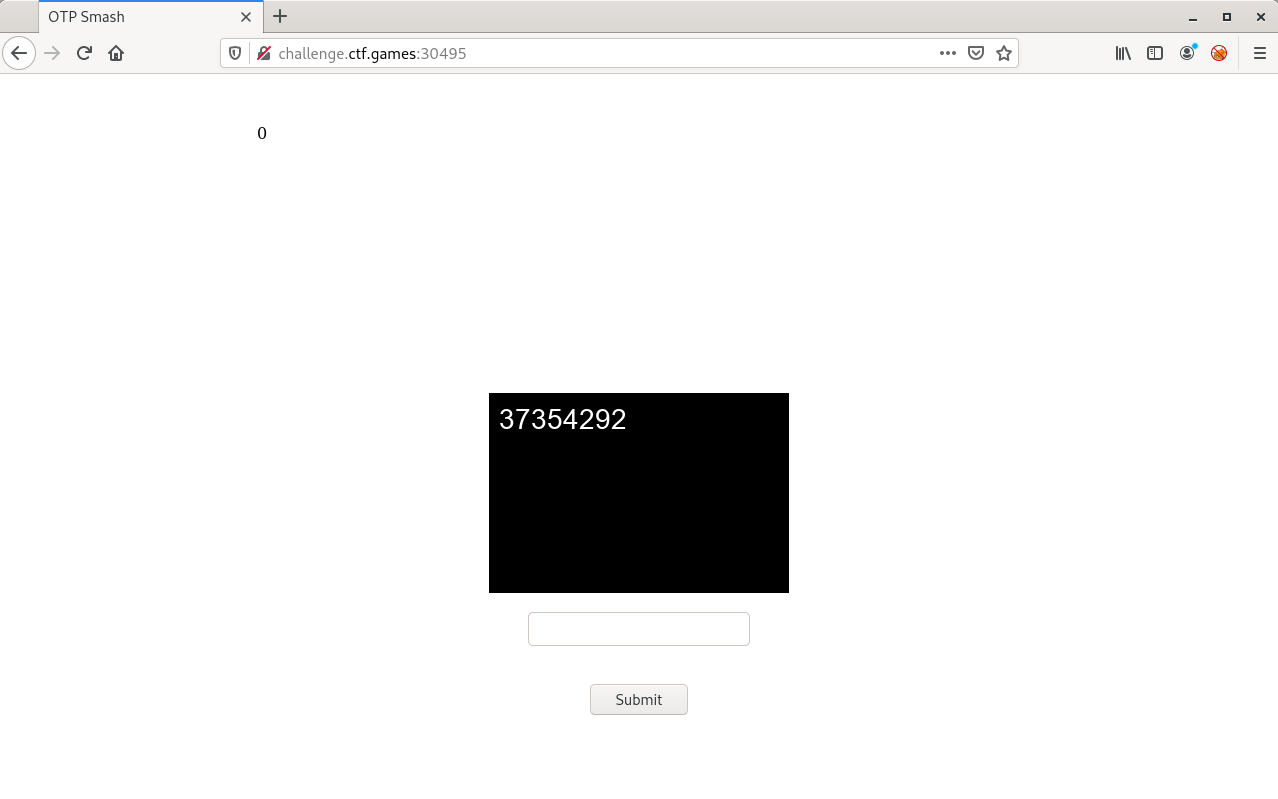
We have a number in the top left (presumably a counter), a picture with some numbers in it, and a text box. I think it’s pretty clear what’s supposed to happen here. After trying to input the numbers shown on screen, in a vain attempt to increase the counter, nothing happens.
I took a quick look at the source code to see if there was any additional information I could pull from when script writing.
<!DOCTYPE html>
<html>
<head>
    <title>OTP Smash</title>
</head>
    <body>
    <style>
        .img {
            display: block;
            margin-left: auto;
            margin-right: auto;
            margin-top: 250px;
        }
        .otp_entry {
            display: block;
            margin-left: auto;
            margin-right: auto;
        }
        .flag {
            display: block;
            margin-left: auto;
            margin-right: auto;
        }
        .count {
            margin-left: 250px;
            margin-top: 50px;

        }
    </style>
    <p class="count">0</p>
    <img src="/static/otp.png" alt="OTP Image" class="img"/>
    <br>
    <form action="/" method="post">
        <input type="text" name="otp_entry" class="otp_entry">
        <br><br>
        <input type="submit" value="Submit" class="otp_entry" >
    </form>
    <img src="/static/flag.png" onerror="this.style.display='none'" class="flag"/>
    </body>
</html>
A few things then:
- The picture we see on the main page is stored in
/static/otp.png - The flag will not come up as text, rather a picture, which is also stored at
/static/flag.png - I cannot access the
/static/directory
I also went to check for cookies, in case that had information about the numbers, but unfortunately, no.
Script Writing
Research
With all of the things we’ve observed with the website, the high level overview of our script should be this.
- Read number from image
- Input number into text box
- Check if flag popped up as a result
Steps 2 and 3 seemed pretty easy, all you have to do is use a library like requests in Python. However, I had to take to Google to find ways to extract text from images. Luckily, the search did not take me too long.
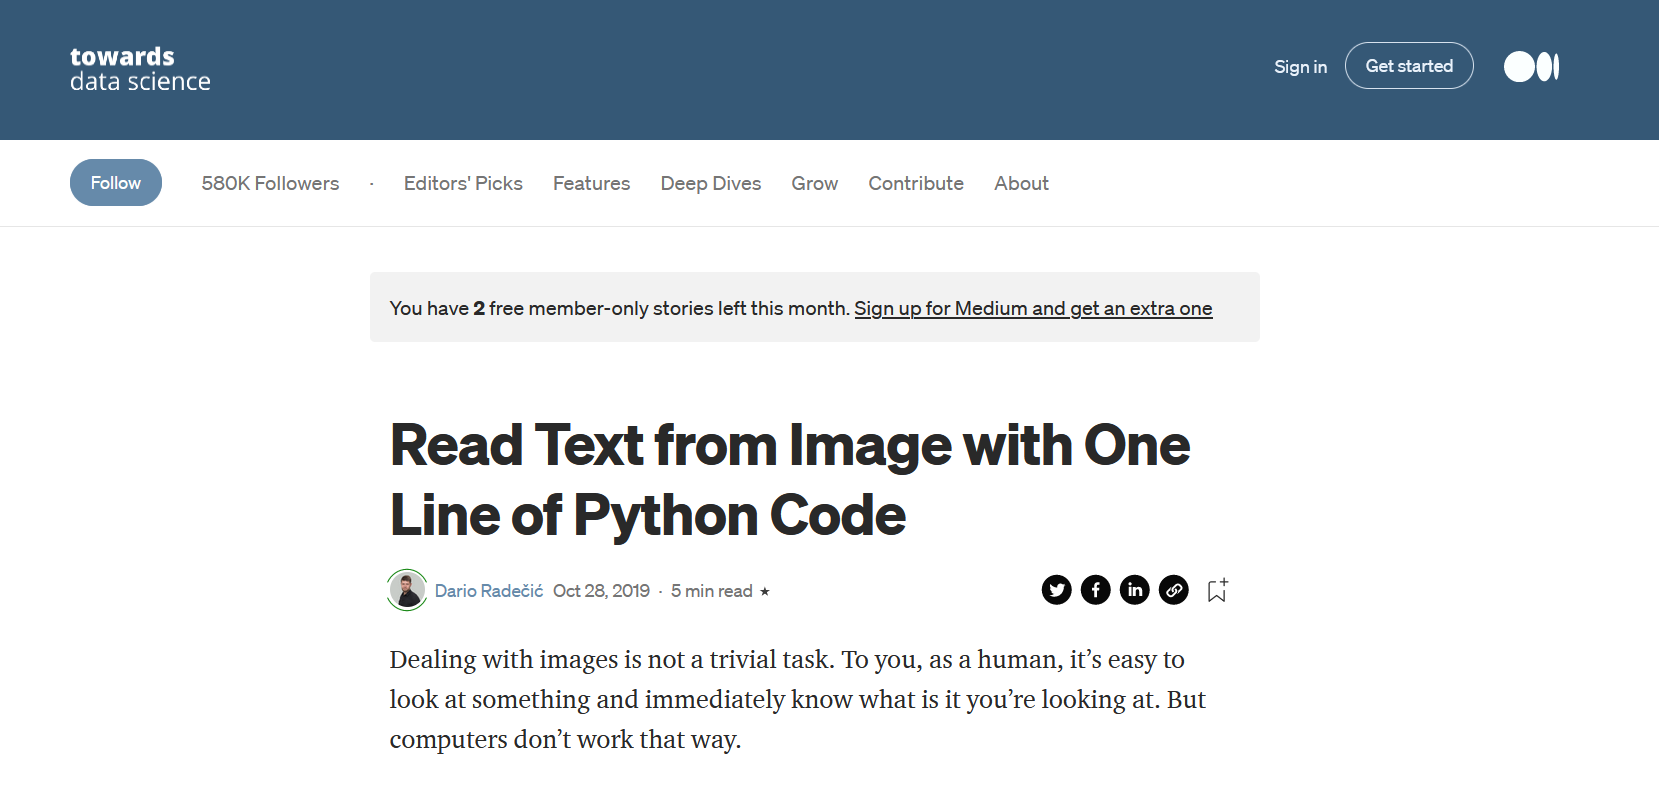
That’s awfully convenient. A quick read through of the article informs us of two key libraries/modules: OpenCV and pytesseract. OpenCV is a library that basically anyone who’s ever touched ML knows about. It’s a library that powers those viral YouTube videos about computers seeing stuff, and provides a pretty simple framework for reading and manipulating images, rather than going through byte by byte. pytesseract complements OpenCV because it’s main focus is to server as an OCR, or an Optical Character Recognition tool, which essentially means it reads text from images. After installing both of these, we can begin development.
Learning to Read
If there’s one thing that I’ve learned from doing writeups, it’s that explaining the entire process to developing your code is very boring, requires people to scroll through iterations of your program, and can get quite confusing the more complex it is. I’m going to break down the major components of what I did, and then there will be another section dedicated to final execution.
We’re first going to make sure we can parse what’s going on with the website and ensure we can make requests, so that steps 1 and 3 from before get easier. I recall doing a similar challenge on Hack The Box (Emdee five for life), so I stole a couple bits of code from my solution to that.
#!/usr/bin/python3

import cv2
from urllib.request import urlopen
import requests
import numpy as np
import pytesseract
import re


url = "http://challenge.ctf.games:30073"

def clean_html(html):
	clean = re.compile("<.*?>")
	return re.sub(clean, '', html)

if __name__ == "__main__":

	text = "4041337" # Placeholder for now

	# Construct request
	data = dict(otp_entry=text)
	requests.post(url=url, data=data)
	check = requests.get(url)
	counter = clean_html(check.text).split("}")[4].strip()
	print(counter)
We’re making use of the requests module to allow the Python script to make GET and POST requests to the main website. After playing around with inspect (and being paranoid and using Burp to be really sure), I found that the website was sending the post data in a variable called otp_entry, so we make a dictionary with that and our text to send to the server.
Additionally, to make it easier to read the counter (so we can log our success and failure), I implemented a clean_html() method to parse the HTML syntax. It’s not the best, but it removes all of the tags, and I can just use strip() to remove the extra whitespace.
Reading Images
Now we need to implement step 1, which was reading from the image. The author of the towarddatascience article uses this code sample.
import cv2
import pytesseract

img = cv2.imread("breakingnews.png")
text = pytesseract.image_to_string(img)
print(text)
The article was not lying when it said it can do this in one line of code. One problem, this script uses a local image, and while I could download 100+ images, we start introducing the issue of greater network latency and download speed. As any good programmer would do, I took to the internet again, and stumbled across this StackOverflow thread.
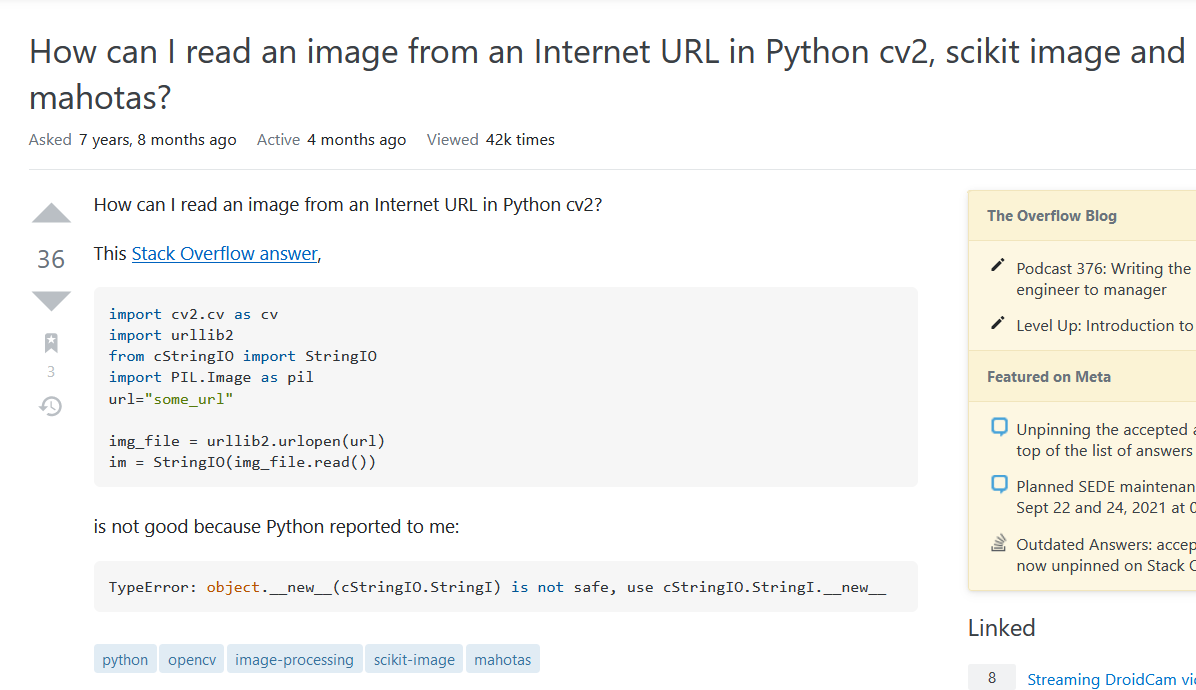
A solution was present, and used this bit of code.
import cv2
import urllib
import numpy as np

req = urllib.urlopen('http://answers.opencv.org/upfiles/logo_2.png')
arr = np.asarray(bytearray(req.read()), dtype=np.uint8)
img = cv2.imdecode(arr, -1) # 'Load it as it is'

cv2.imshow('lalala', img)
if cv2.waitKey() & 0xff == 27: quit()
I didn’t have any experience with OpenCV going into this challenge, other than just knowing what it does, so I just prayed and stuck the middle three lines into my code, found that I actually got an image from it, and stuck my two steps together. I also added a check for when the flag actually comes up on the website, so the script stops then.
#!/usr/bin/python3

import cv2
from urllib.request import urlopen
import requests
import numpy as np
import pytesseract
import re


url = "http://challenge.ctf.games:30073"

def clean_html(html):
	clean = re.compile("<.*?>")
	return re.sub(clean, '', html)

if __name__ == "__main__":

	# Reading image from web instead of downloading
	req = urlopen(url + "/static/otp.png")
	arr = np.asarray(bytearray(req.read()), dtype=np.uint8)
	img = cv2.imdecode(arr, -1) # 'Load it as it is'

	# Extracting string
	read = pytesseract.image_to_string(sharpen_img_1)
	text = read.strip()
	print(text)
	req.close()

	# Construct request
	data = dict(otp_entry=text)
	requests.post(url=url, data=data)
	check = requests.get(url)
	counter = clean_html(check.text).split("}")[4].strip()
	print(counter)
	try:
		# Reading image from web instead of downloading
		req_flag = urlopen(url + "/static/flag.png")
		arr_flag = np.asarray(bytearray(req_flag.read()), dtype=np.uint8)
		img_flag = cv2.imdecode(arr_flag, -1) # 'Load it as it is'
		cv2.imwrite("flag.png", img_flag)
		print(f"[+] DONE! Iterations: {counter}")
	except:
		pass
Inconsistency –> Filtering
I stuck my driver code into a while True loop because I had no idea how many iterations were necessary. However, as I stepped away from my laptop for a little bit after letting it run, I noticed some inconsistencies. My output would look something like this.
remnux@remnux:~/ctf/hacktivitycon/otp$ python3 script.py
[trimmed for brevity]
18610965
14
87940042
15
Lafasd {)
0
75653852
1
27957441
2
75133862
3
Well that’s frustrating. I tried to wait some more, but the bugs kept coming, and I was not getting that flag. Looking at the photos on the site, I thought maybe they were a little blurry, so I looked up how to sharpen images. There are many options out there, but I thought going for something that would increase the contrast high enough would do the trick, so I found a filtering trick like this.
myFilter = np.array([[-1, -1, -1], [-1, 18, -1], [-1, -1, -1]])
sharpen_img_1=cv2.filter2D(img,-1,myFilter)
This essentially moves through the image in a 3x3 matrix, increasing and decreasing the pixel values accordingly. Since this image black and white, the contrast between the two grew. Yet, even this did not work to improve my success rate.
After some digging and asking around, Discord user TYKUHN2#5283 gave me a decent nudge to develop a better filter, and I was able to finalize my script.
Final Code and Grabbing Flag
#!/usr/bin/python3

import cv2
import urllib
import requests
import numpy as np
import pytesseract
import re

url = "http://challenge.ctf.games:30495/"

def clean_html(html):
	clean = re.compile("<.*?>")
	return re.sub(clean, '', html)

if __name__ == "__main__":
	while True:
		# Reading image from web instead of downloading
		req = urllib.request.urlopen(url + "/static/otp.png")
		arr = np.asarray(bytearray(req.read()), dtype=np.uint8)
		img = cv2.imdecode(arr, -1)

		# Filtering
		kernel = np.ones((2,1), np.uint8)
		gray = cv2.cvtColor(img, cv2.COLOR_RGB2GRAY)

		gray, img_bin = cv2.threshold(gray,128,255,cv2.THRESH_BINARY | cv2.THRESH_OTSU)
		gray = cv2.bitwise_not(img_bin)

		img = cv2.erode(gray, kernel, iterations=1)
		img = cv2.dilate(img, kernel, iterations=1)
		text = pytesseract.image_to_string(img).strip()

		# Making the request
		data = dict(otp_entry=text)
		requests.post(url=url, data=data)
		check = requests.get(url)
		counter = clean_html(check.text).split("}")[4].strip()
		print(f"[+] Inputting: {text}, counter now at {counter}")
		try:
			# Reading image from web instead of downloading
			req_flag = urlopen(url + "/static/flag.png")
			arr_flag = np.asarray(bytearray(req_flag.read()), dtype=np.uint8)
			img_flag = cv2.imdecode(arr_flag, -1) # 'Load it as it is'
			cv2.imwrite("flag.png", img_flag)
			print(f"[+] DONE! Iterations: {counter}")

			real_flag_img = cv2.imread("flag.png")
			flag_text = pytesseract.image_to_string(real_flag_img)
			print(f"[+] FLAG: {flag_text}")
		except:
			pass
My original script did not have the flag printed out, and instead just downloaded the flag image. But, regardless, here is the flag.

Comments